
Kiwi Rider Podcast 2022 | E28
In this week's show, Ray talked us through his insurance win, we have

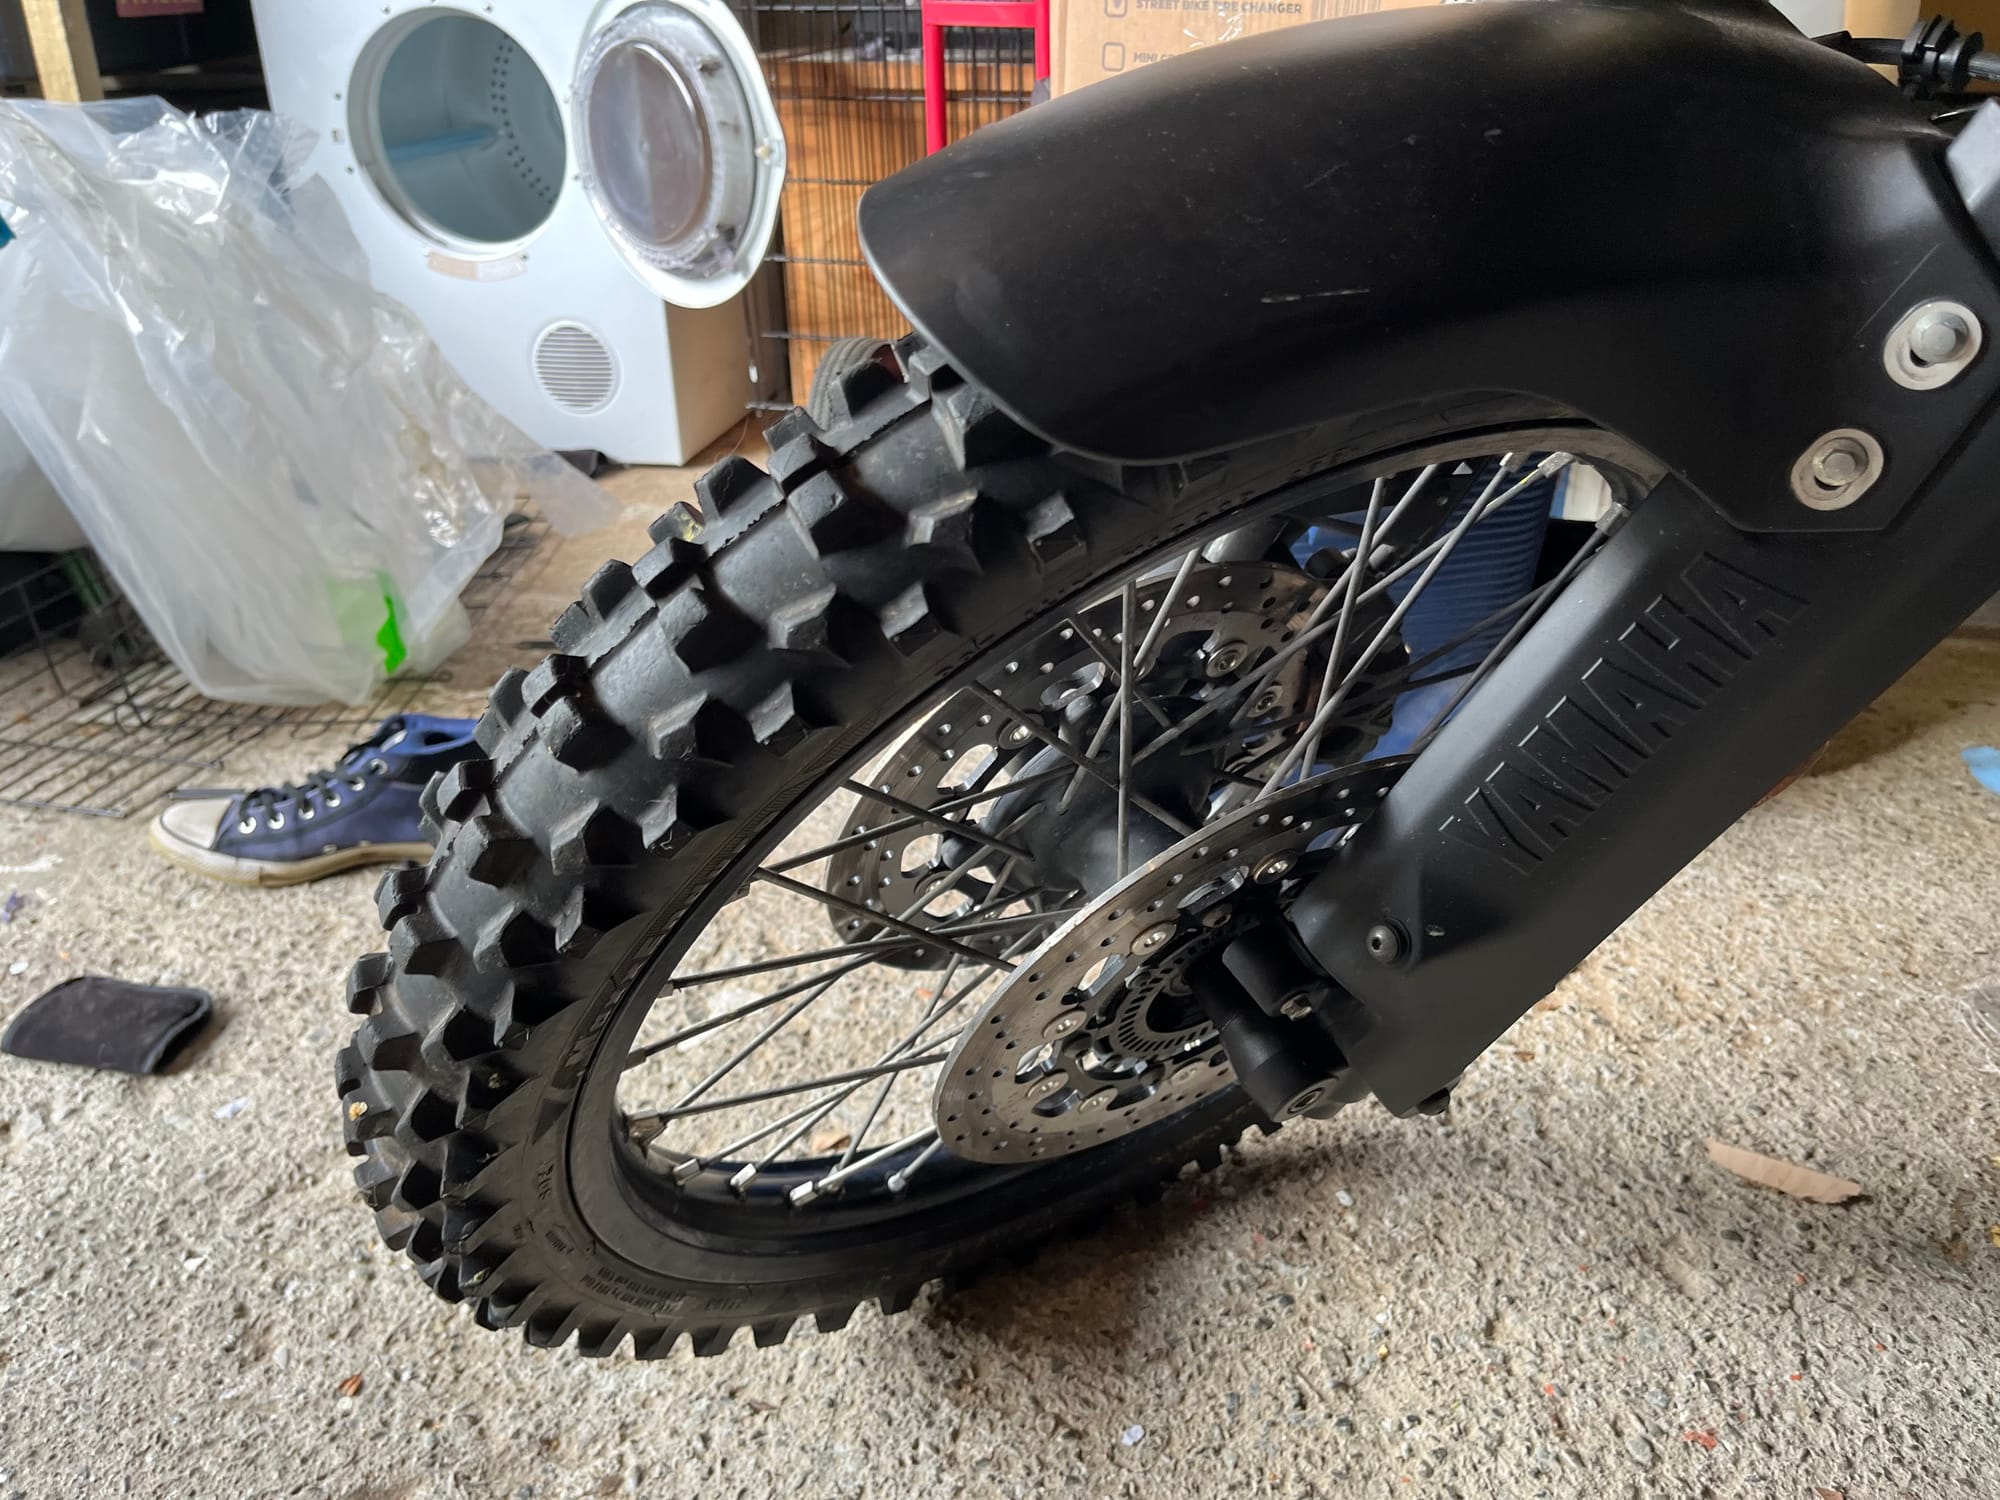
Just over 3 years ago I was justifying to my wife why I should buy a Tenere 700. I remember saying "It's one bike to rule them all". The theory was that I could sell my dirt bike, and take the Tenere to trail rides. then during the week it would perform the commuting duties as well. Since then, I've covered over 45,000 kilometers on the T7, and completed numerous adventure rides around the country, but I've only done one organized trail ride... and only one 30km loop at that.
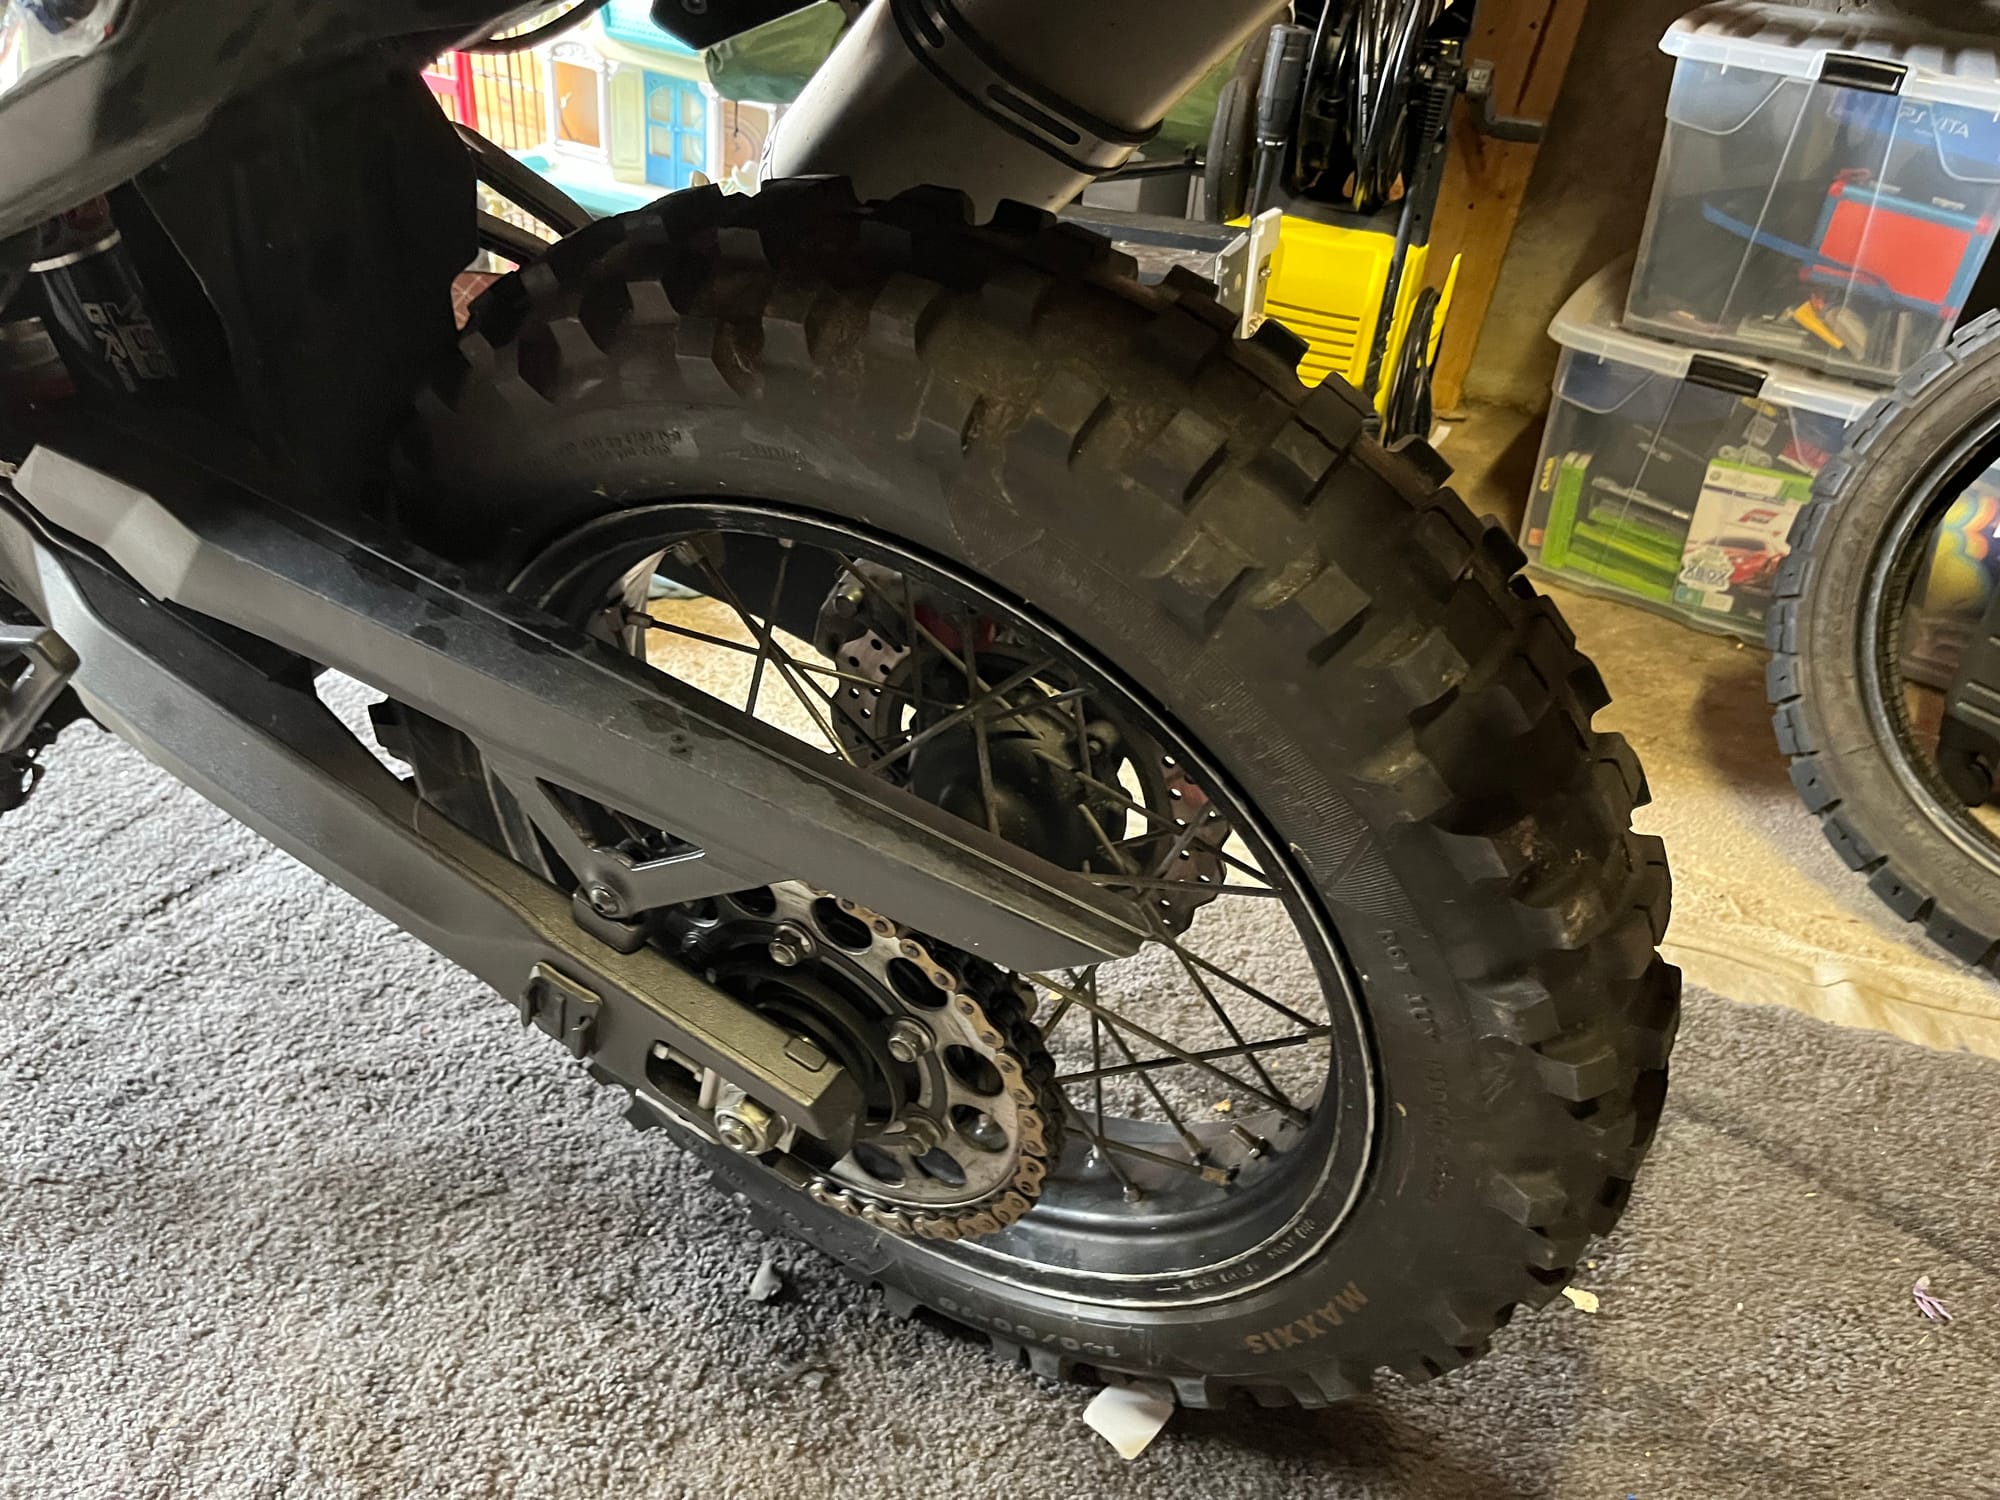
Why? Mainly because of the tyres. Adventure tyres are fine for the 42 Traverse, or Molesworth... but when you get properly off-road, you really want knobleys. The problem is, knobleys wear out far too quickly on the seal to commute on them. So I either get really good at changing tyres on my garage floor, buy shares in a motorcycle workshop, or buy a second set of rims...
Is there another option?
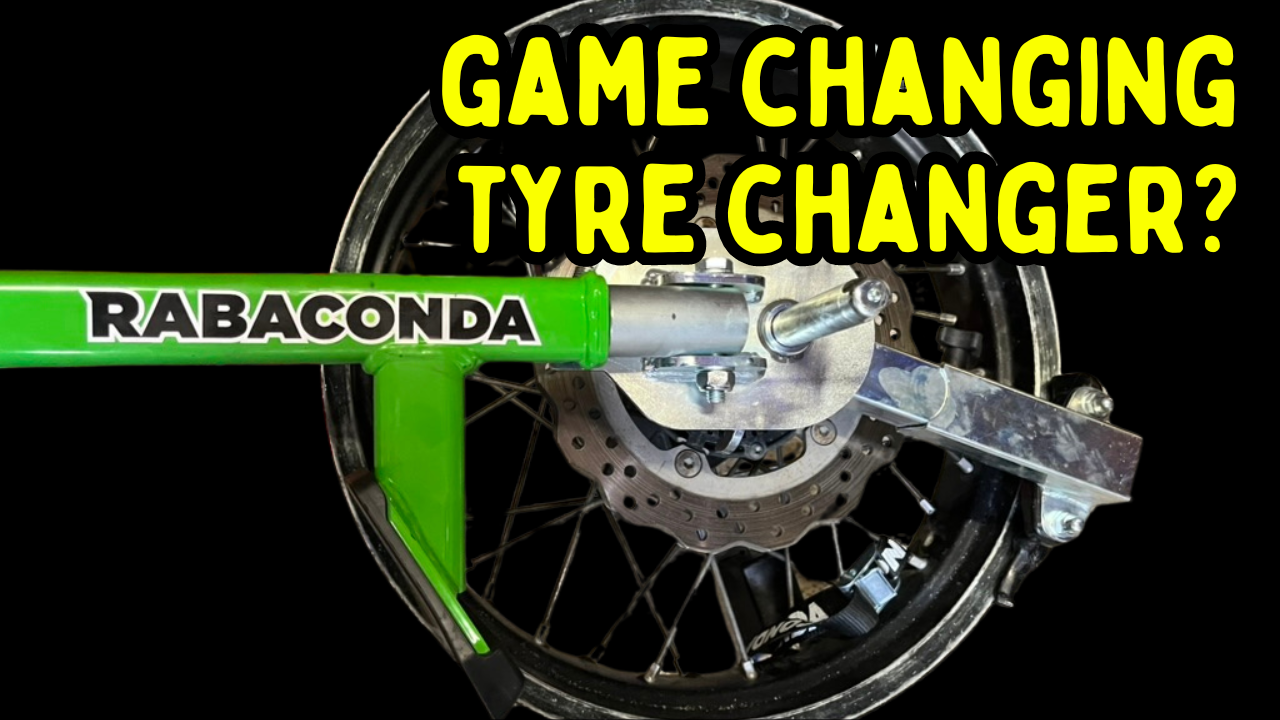
Lately, I've seen a few videos from a company called Rabaconda, showing off their Street Tyre Changer machine. In the videos, a representative from the company changes tyres on loads of different types of bikes from cruisers, to adventure bikes, to dirt bikes and even sports bikes... and he makes it look easy. It got me thinking. maybe this is the answer to my situation. Maybe this would be an easy way to change my own tyres. meaning I would run knobleys for weekend dirt missions and road/ADV tyres during the week. I did some digging, and it turns out we have a Rabaconda distributor here in little ol' NZ. Dold Industries, the same team that distributes Mitas, and Ventura, among other brands.
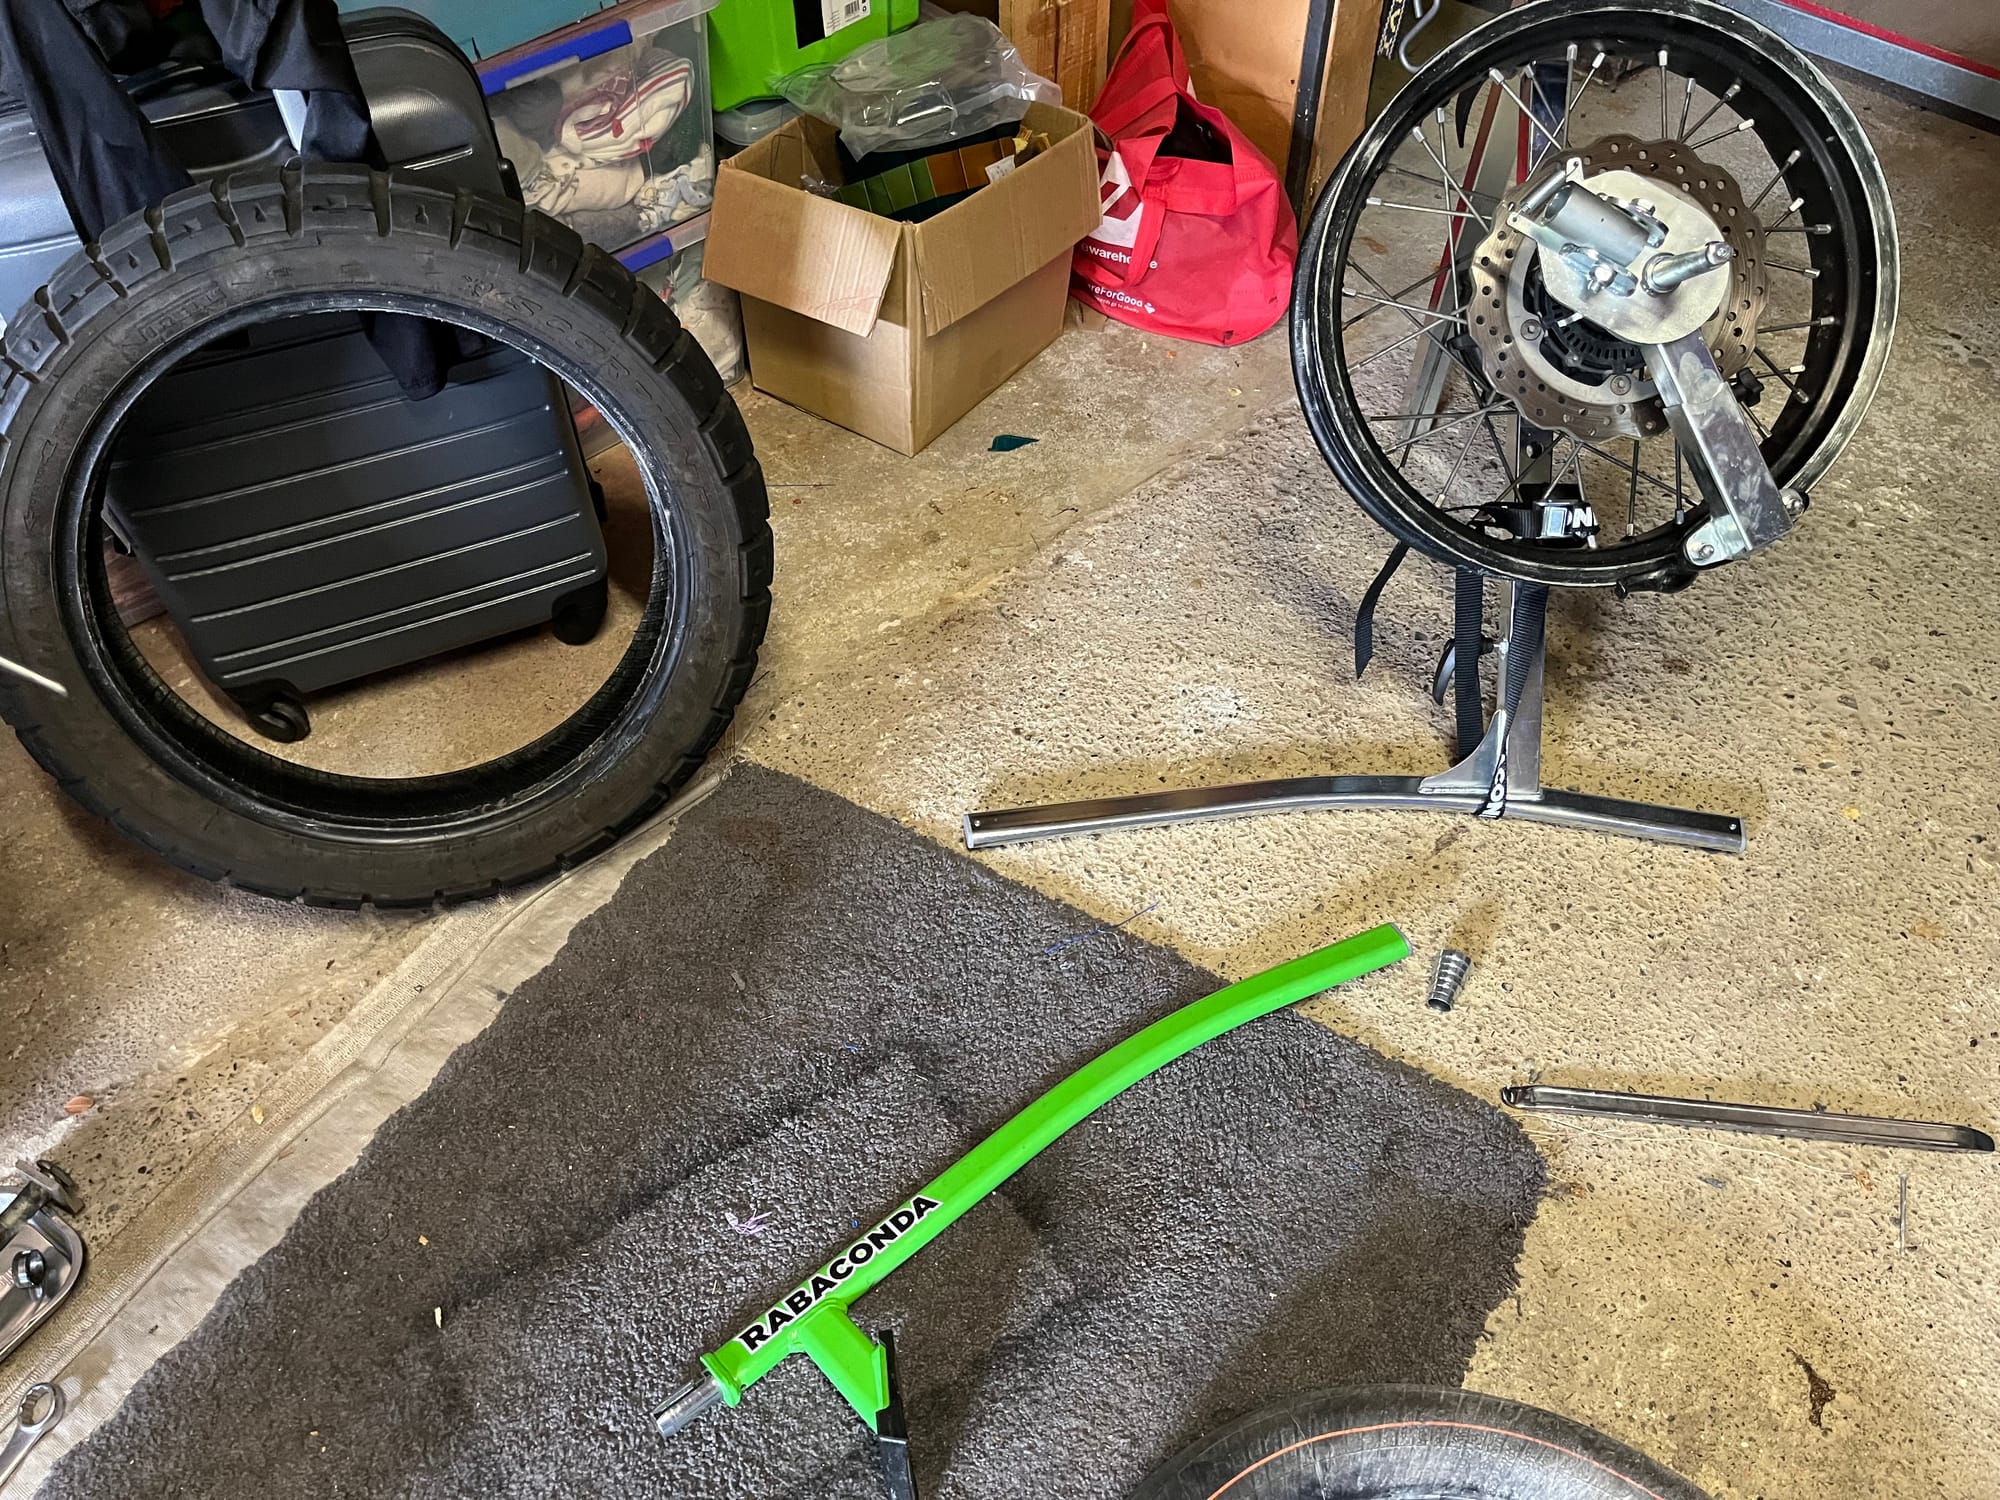
Long story short, I now have a Rabaconda Street Changer in my garage and I've been putting it through its paces. Last time I tried to change the tyres on my T7 in my garage without a machine, it took me and a mate around about 6 hours and we didn't have a pump big enough to seat the bead. so ended up giving up and taking the bike to a workshop. That's my benchmark. 6 hours and ultimate failure.
Here's the process:
1) Jack up the bike
2) Remove front wheel
3) Remove valve and deflate tyre
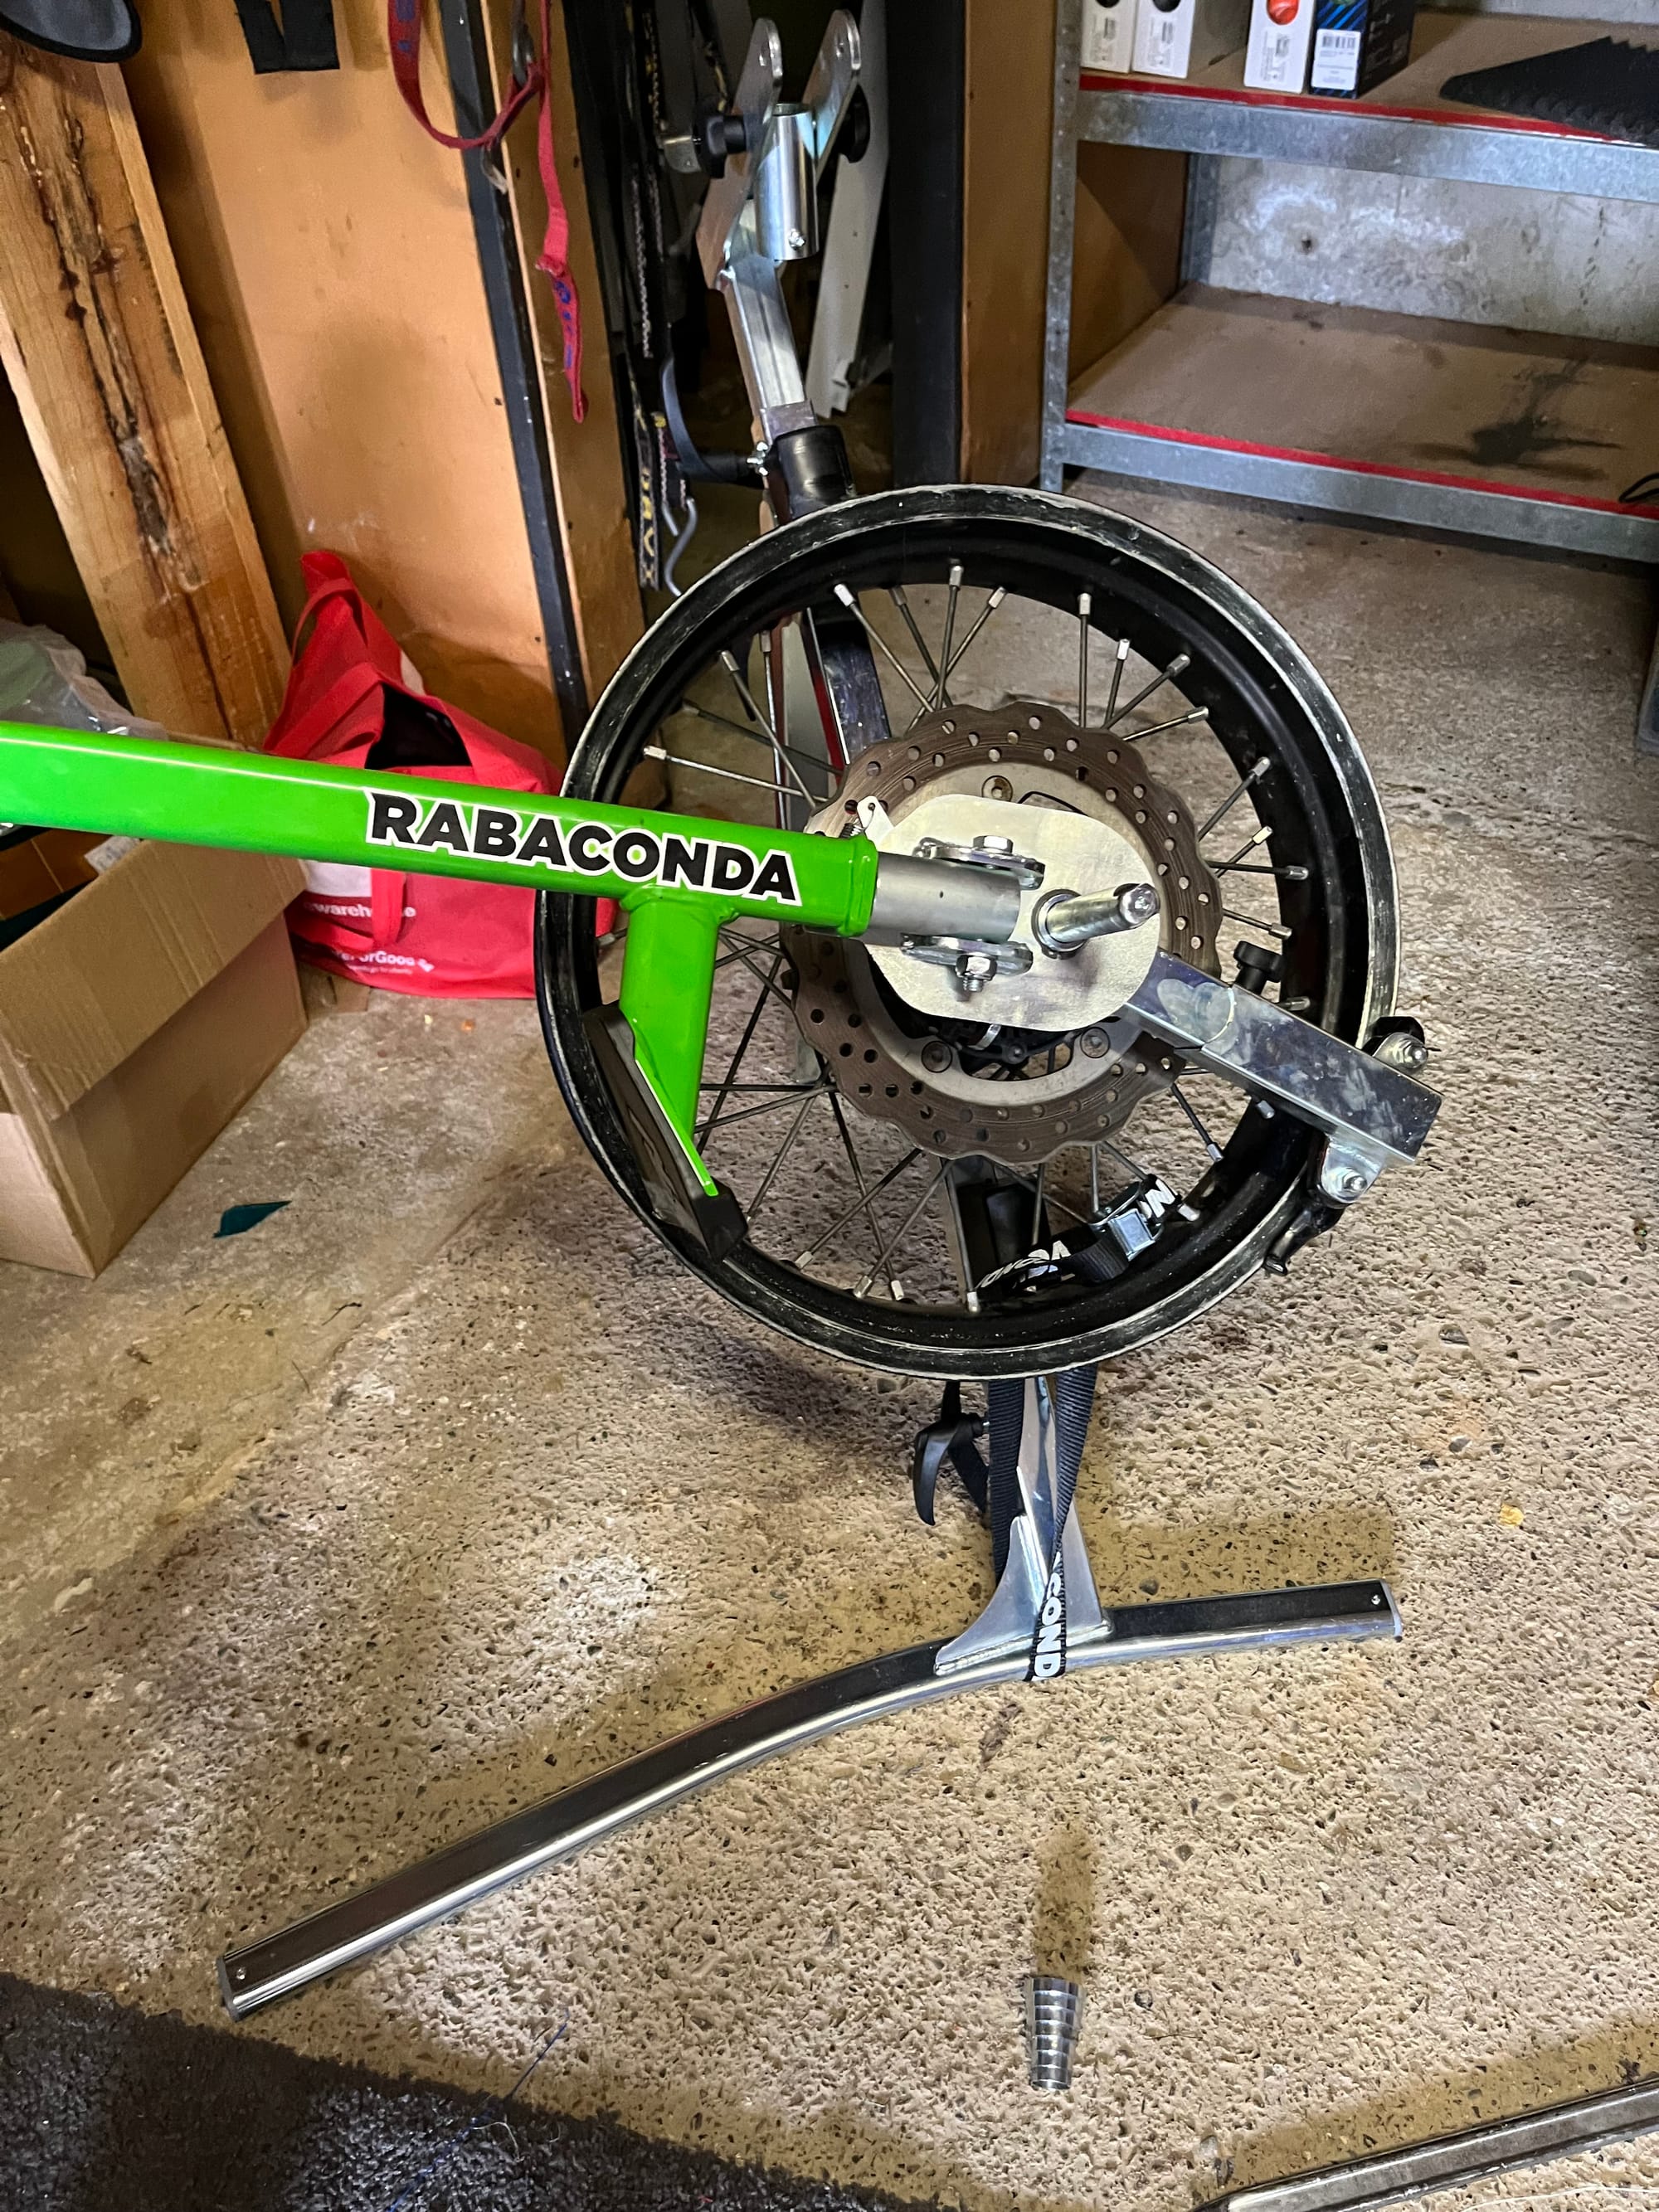
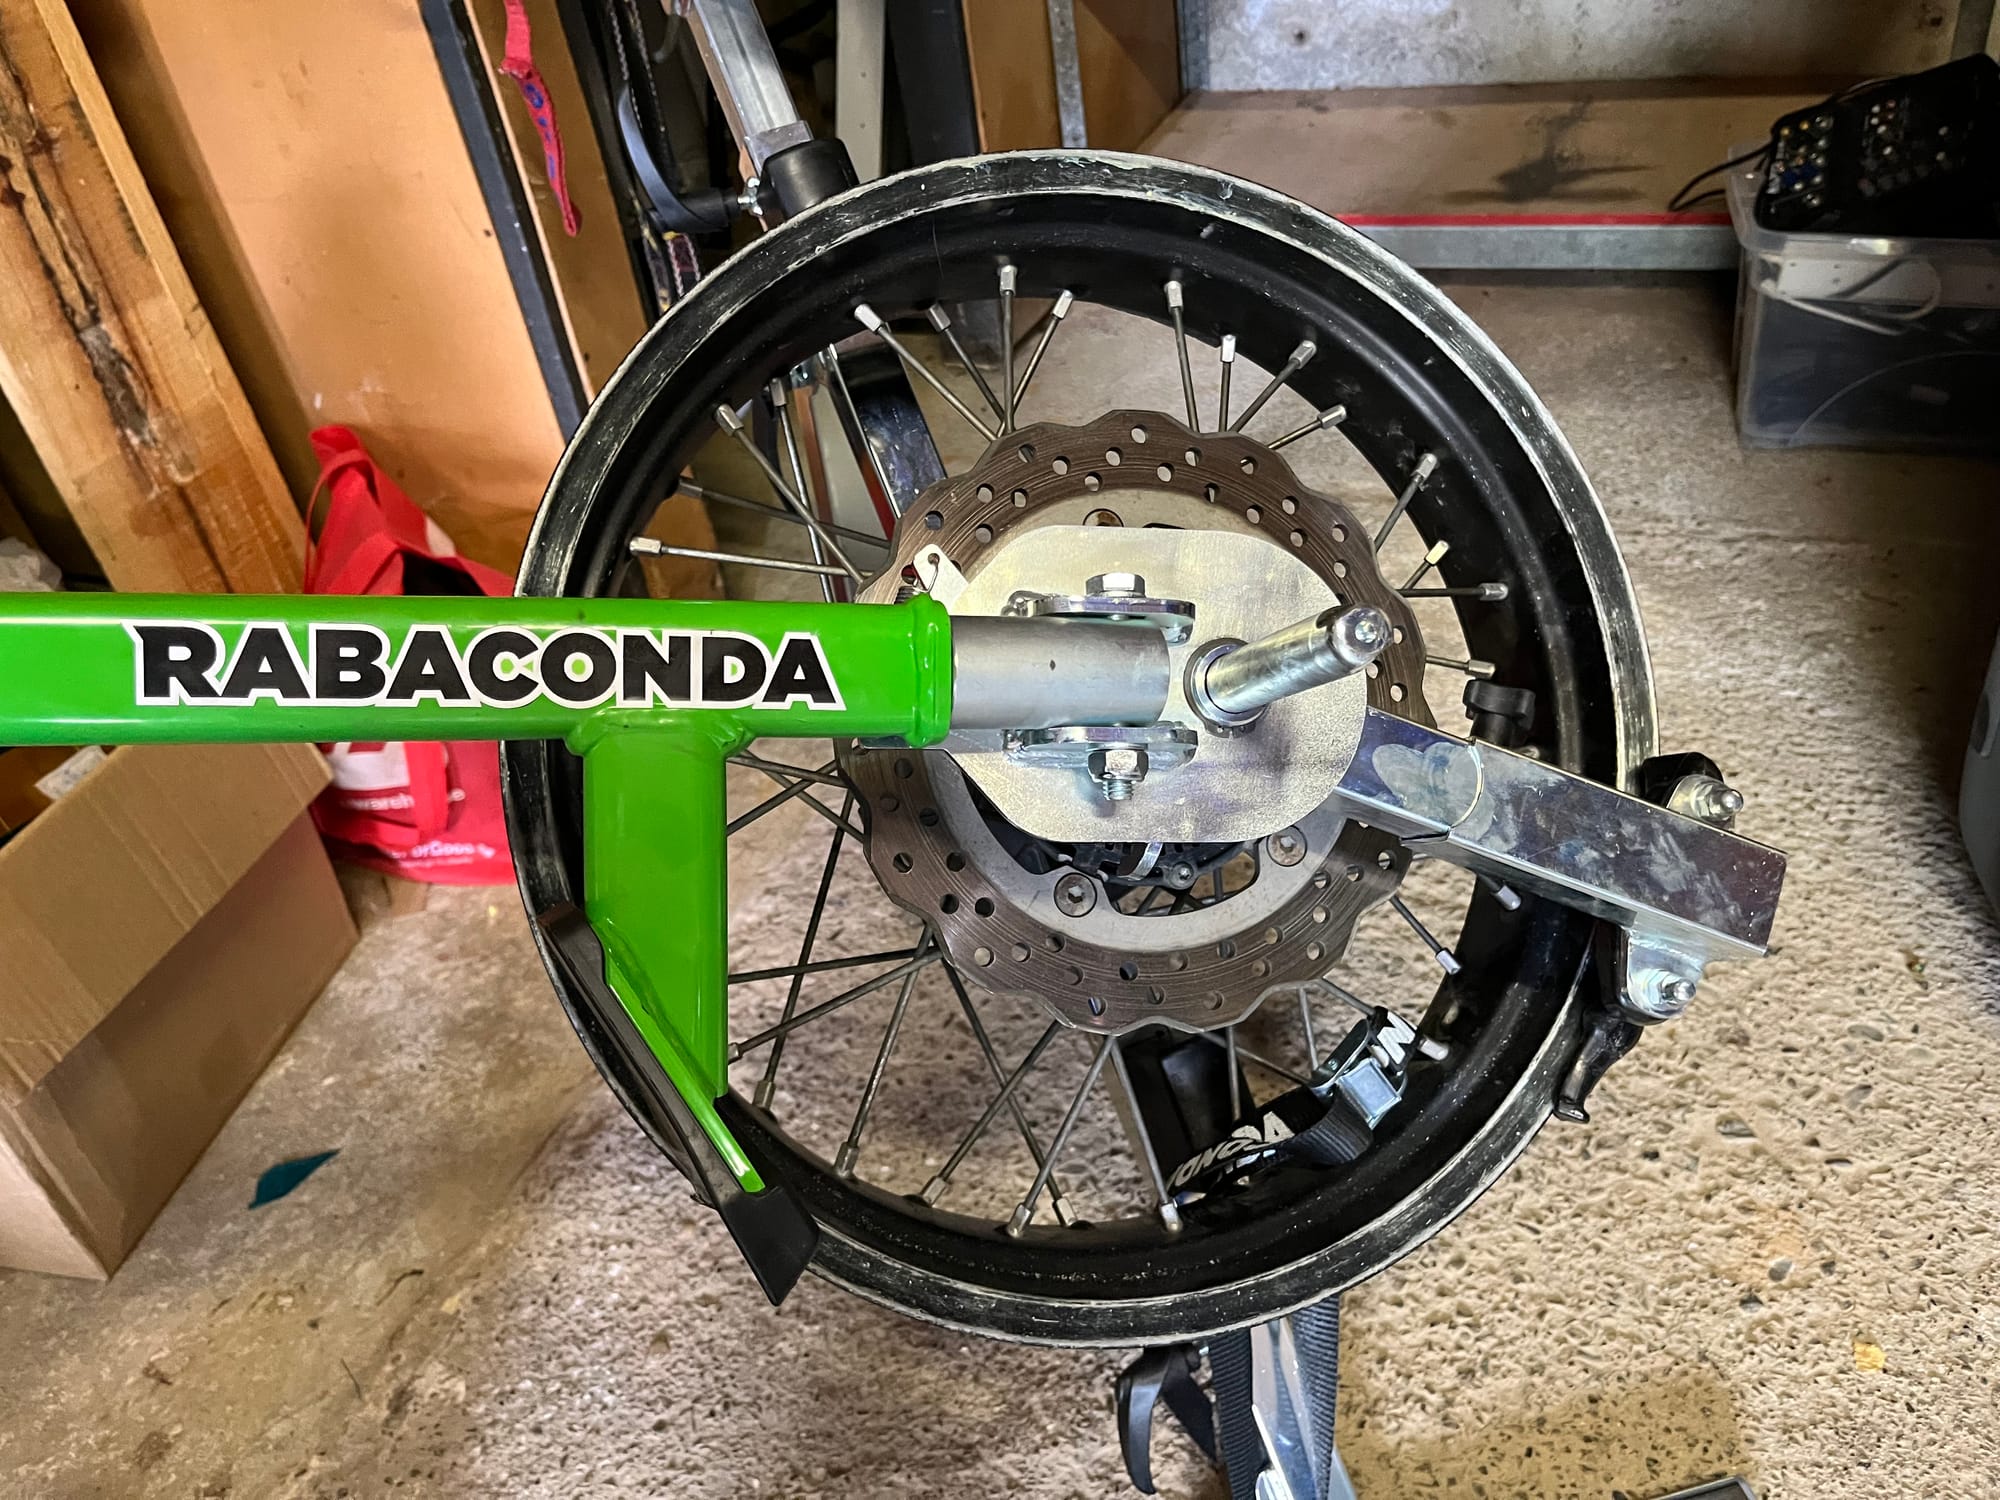
4) Place wheel on Rabaconda spindle, adjust bead breaker.
5) Break bead.
6) Flip tyre and break bead on other side
7) Lube beads with bead grease
8) Install duck head, use tyre leaver to put bead over duck head
9) Insert bead beaker arm into ratchet and drag duck head around rim to remove tyre.
10) Remove duck head, remove innertube, replace duck head, repeat step 9 with second bead
At this point, I was feeling pretty good about my self. 15 minutes in and I had my old tyre completely off the rim. With only minimal effort required and not even that much swearing. Now to install the new tyre. Wait, this tyre is directional... ok well there is an arrow... pick a side.
1) lube bead of new tyre
2) Place over duckhead
3) While holding tyre from slipping, lever the ratchet around the rim, pushing the bead over rim.
4) Remove duckhead
5) Install the inner tube
6) Replace duckhead, lever the second bead over duck head, and using the ratchet push the bead over the rim.
7) Before installing the valve, inflate to check for leaks.
8) If no leaks detected, install valve, and reinstall wheel on bike.
At this point, I was 75 minutes deep into a 30-minute job. Unfortunately, when I tested the tube I found I had a leak... off the tyre came again, so a new tube could be installed. This took me another 25 minutes, but I was getting good practice in. New Tube installed, Tyre back on the rim, holding pressure. I installed the wheel on the bike again. Then set to work on the rear. Repeat all steps above.
In 40 minutes I had the tyre completely replaced, no leaks in the tube, and back on the bike. Great! I turned the key and the ABS light started flashing at me. On inspection of the front wheel. I had managed to get the direction on the tyre correct, but the rim was backward, with the ABS ring on the wrong side. SIGH!
Wheel off again, tyre off, being careful not to puncture the tube. Tyre rotated and reinstalled and I'm pretty proud to say in record time. Just 30 minutes for the whole thing and back on the bike.
It would be fair to say I've put the Rabaconda through its paces. Not just changing a bunch of tyres, but tyres with very hard side walls. Using the Rabaconda Street Tyre Changer has made the job manageable for someone like me in the garage. No need to use the side stand of the bike or any heavy machinery to break the bead. Last time on the floor of my garage with only tyre levers it took over 6 hours to change 2 tyres. This time I effectively changed 4 tyres in 3 hours. There's still an element of manual labor which I'm not a fan of, but the sense of satisfaction at the end knowing you "did a thing" more than makes up for that.
Let's talk about money. At roughly $120 every time to get a workshop to change tyres, I'm saving some cash, not to mention the time spent waiting around the dealer while they do the job, or the stuff I would buy while walking around their showroom. I would need to get the workshop to change my tyres 11 times to equal the cost of the Rabaconda. but that's 5 and a half trail riding missions. It is possible to do that in a season if you are dedicated.
So, for me the Rabaconda Street Tyre changer is a win. It's made it easier and quicker for me to change tyres. The real proof through will be getting someone who is used to changing tyres the manual way on the floor of their garage to try it out and report back.
Distributor: Dold Industries
RRP (inc GST): NZD$1399
Link: https://dold.co.nz/collections/rabaconda-tyre-changer/products/copy-of-rabaconda-street-bike-tyre-changer